Thought for the day - Install the correctors.
- Mar 23, 2021
- 1 min read
There is easy access to the base of the fin box if you take the winch down. It was easy to lay in two strips of velcro on each side of the hull and place the correctors on this. So now they are fixed but moveable.
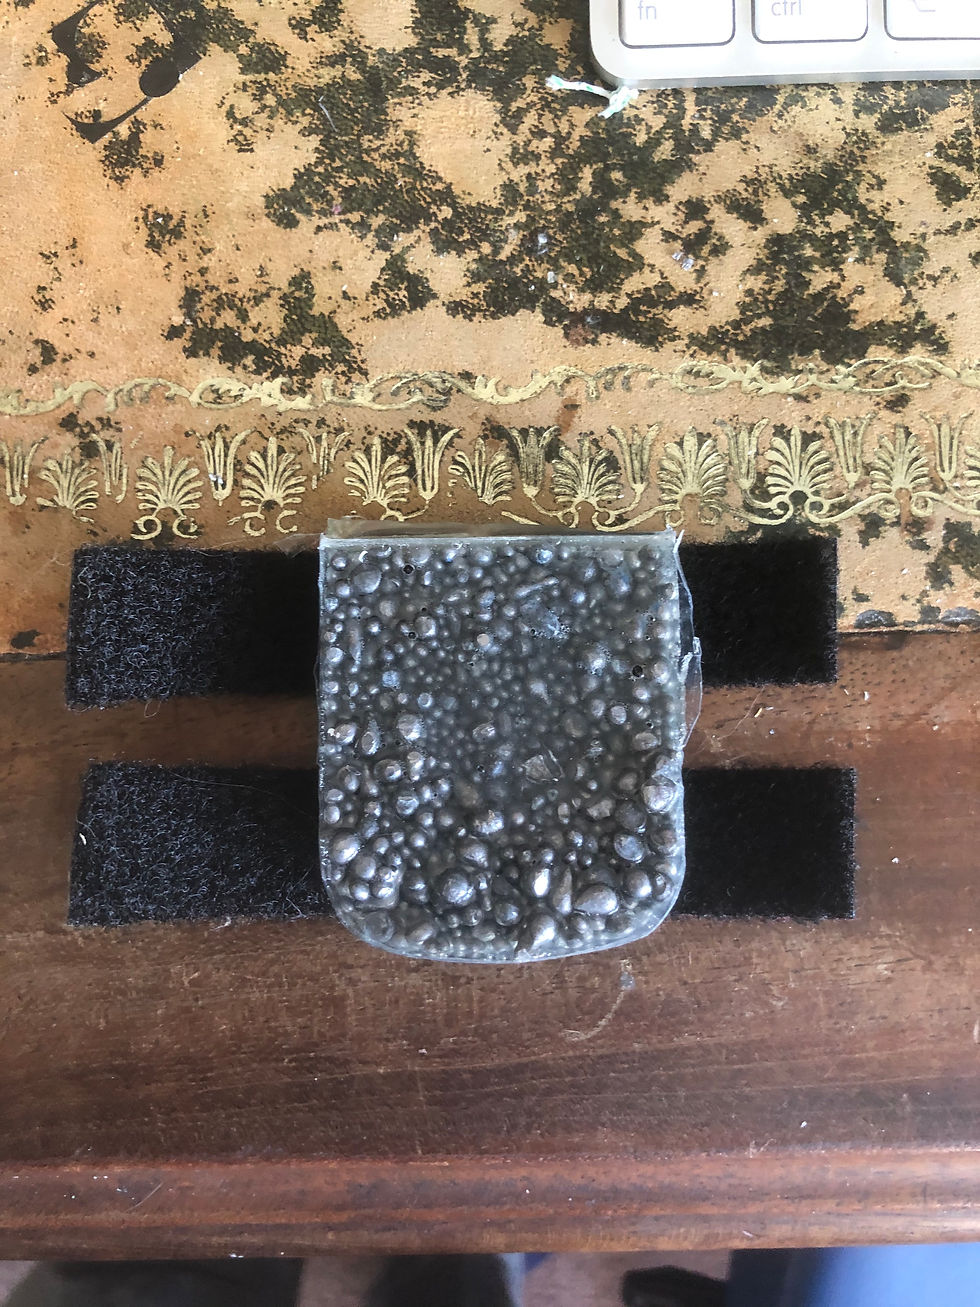
Moulding the correctors using epoxy and lead shot which you can get off eBay. Means you can shape your correctors anyway you like

Finished corrector with velcro in place
Radio pot fitted in place. Hole in pot as high as possible and the lines you se are to pull all the cables through.

Correctors fitted in bottom of hull. The mould wasn't quite as intended but you can see the principle of what I was trying to achieve. Ie a flat corrector in the very bottom of the boat


Apart from putting epoxy over a couple of bolts to lock them in, the hull and rigs are complete. Next top is to fine tune the RC settings, get 3 sticks to use as rig rake checks.


A way to get the corrector weight to conform to the hull is to use a price of wax paper that you fold to make the 3 sides. Then staple the wax paper to popsicle sticks on the keel side as well as forward & aft sides & place into the hull on port and starboard . Gently place the lead shot into the wax paper pan followed by the appropriate amount of epoxy. Carful not to move or rock the hull until you finish the 3rd beer & first cup of coffee the morning after. Then simply pull out the wax paper remove the paper from the lead shot and attach your Velcro strips. This way it all follows…